哈喽,大家好。今天一起学习的是office2007的安装,有兴趣的小伙伴也可以来一起试试手。
一、测试演示参数
演示操作系统:Windows 7
不建议win10及以上操作系统使用
系统类型:64位
演示版本:cn_office_ultimate_2007_DVD_X12-22271_x86_x64.iso
二、下载学习
1、原版镜像
【Microsoft Office 2007 原版镜像】
http://ai95.microsoft-cloud.cn/d/9289114-49846619-dc4990?p=ai95
(访问密码:ai95)持续更新......
2、系统运行库
【常用运行库】(可选)
http://ai95.microsoft-cloud.cn/d/9289114-55567492-c50fb0?p=ai95
(访问密码:ai95)持续更新......
3、卸载工具
【原版彻底卸载工具】
http://ai95.microsoft-cloud.cn/d/9289114-49862522-f9b757?p=ai95
(访问密码:ai95)持续更新......
三、开始学习
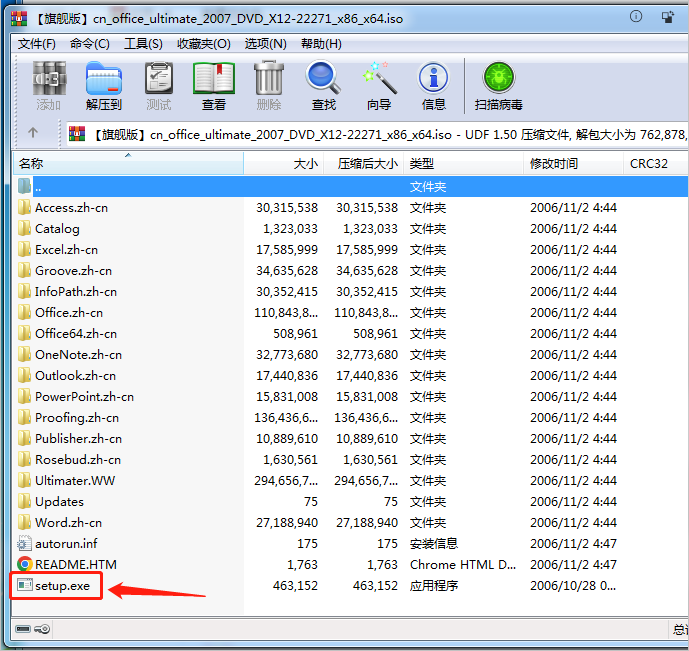
原版镜像文件包一览

双击打开,找到【setup.exe】并打开
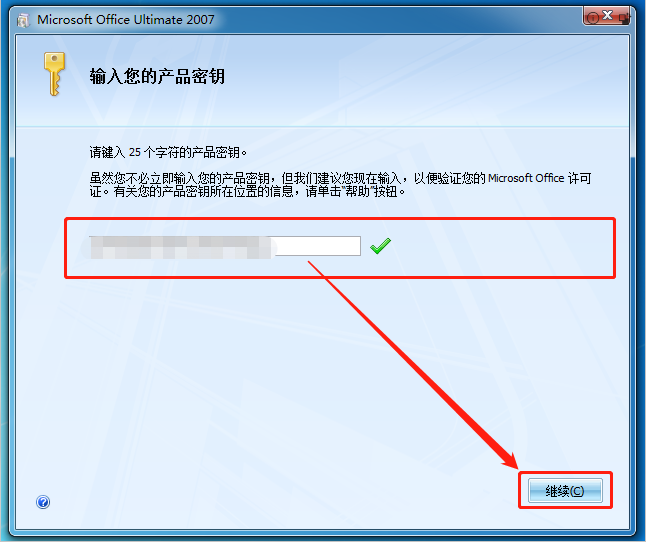
输入产品密钥
同意许可协议

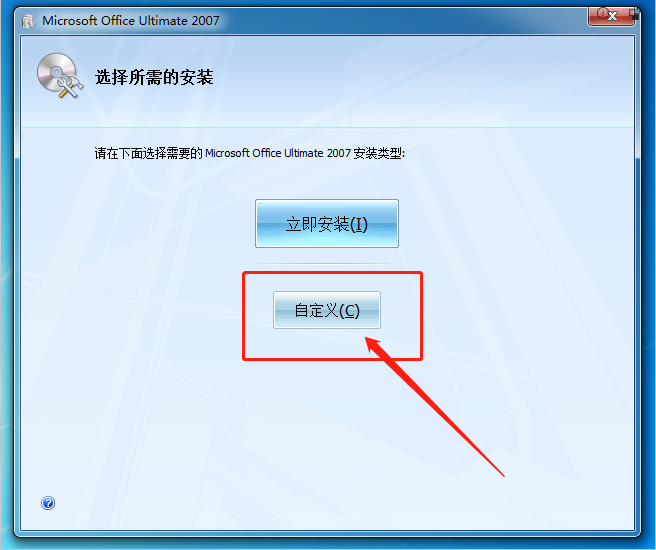
选择安装类型,建议选择自定义
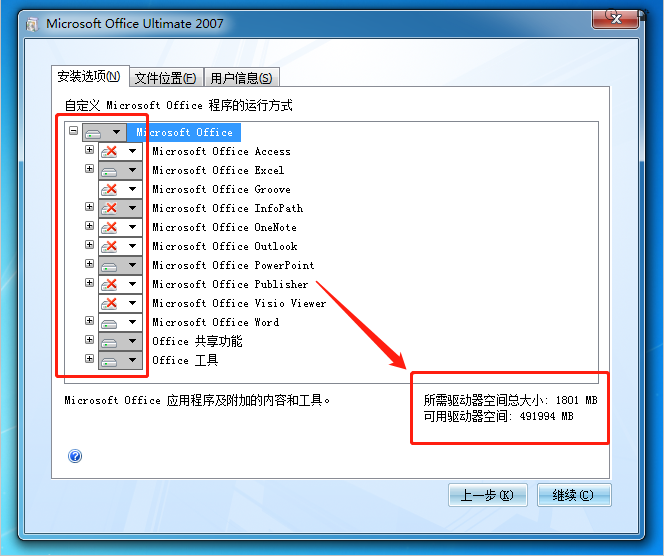
选择需要安装的产品应用及功能
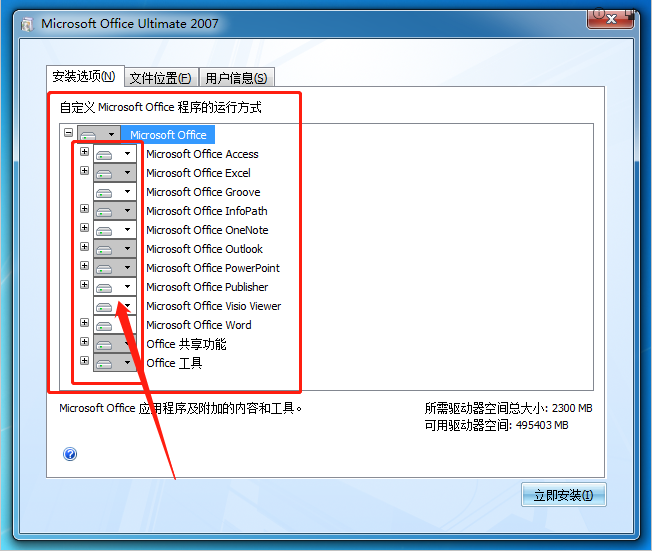
在【安装选项】中,点击下拉按钮,选择是否安装
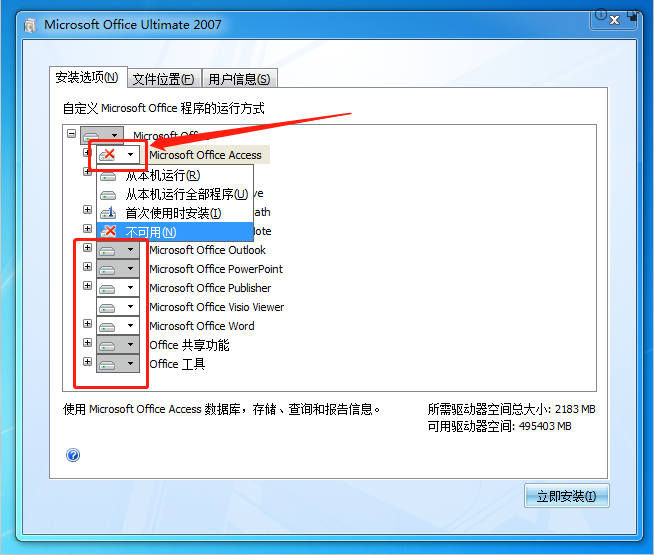
选择好了需要安装的程序后,可以查看所安装需要的预计大小
【office 共享功能】和【office 工具】一定要安装,否则安装之后部分功能可能会被禁用,从而影响使用
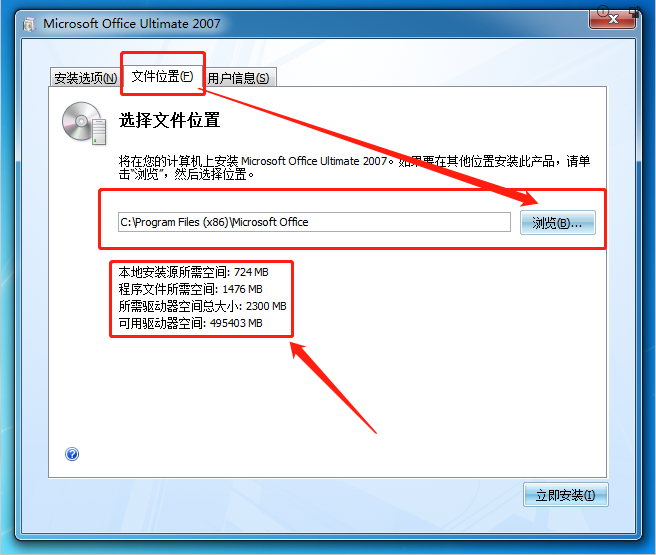
选择文件的安装位置,可查看空间大小详情
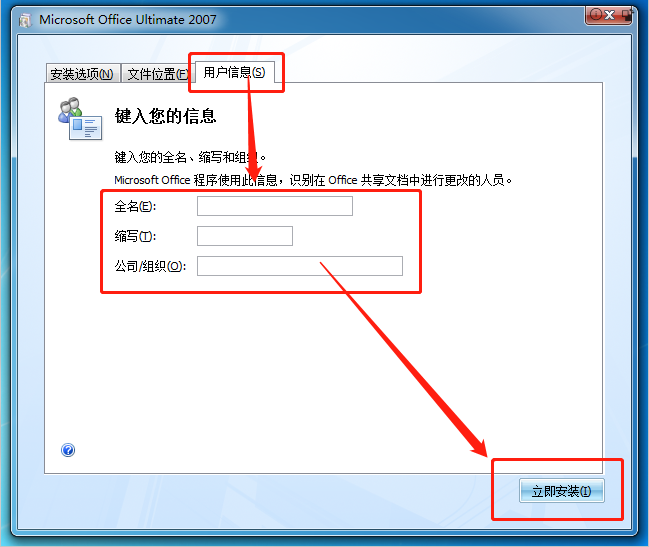
填写用户信息,这里不填写也可以安装
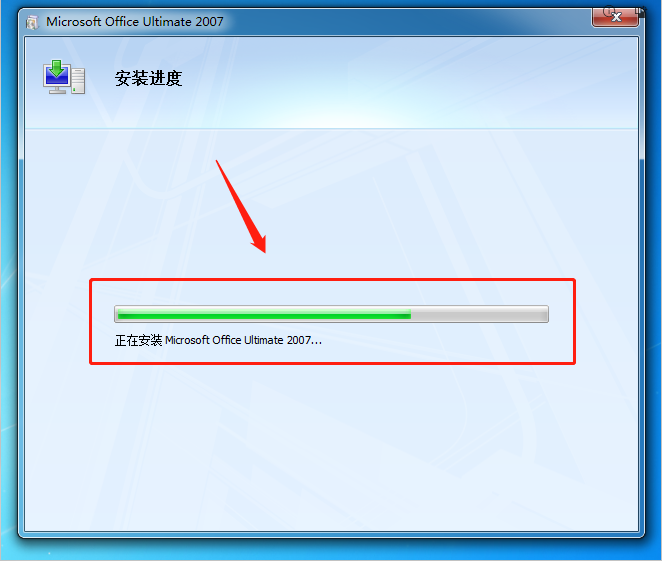
等待自动安装
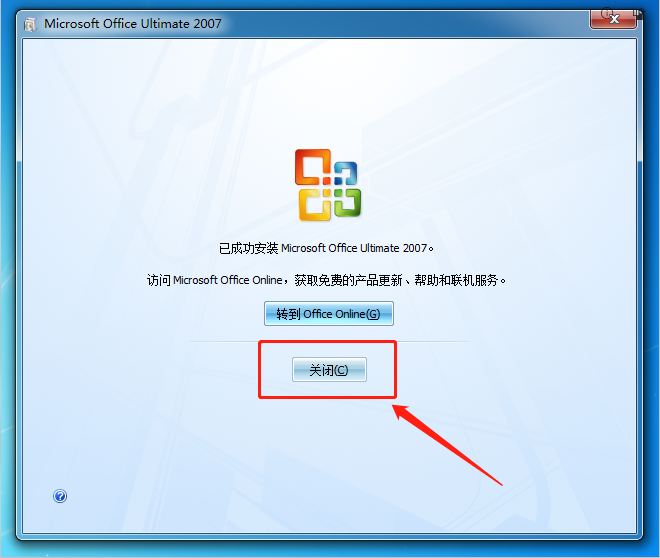
安装完成,点击关闭
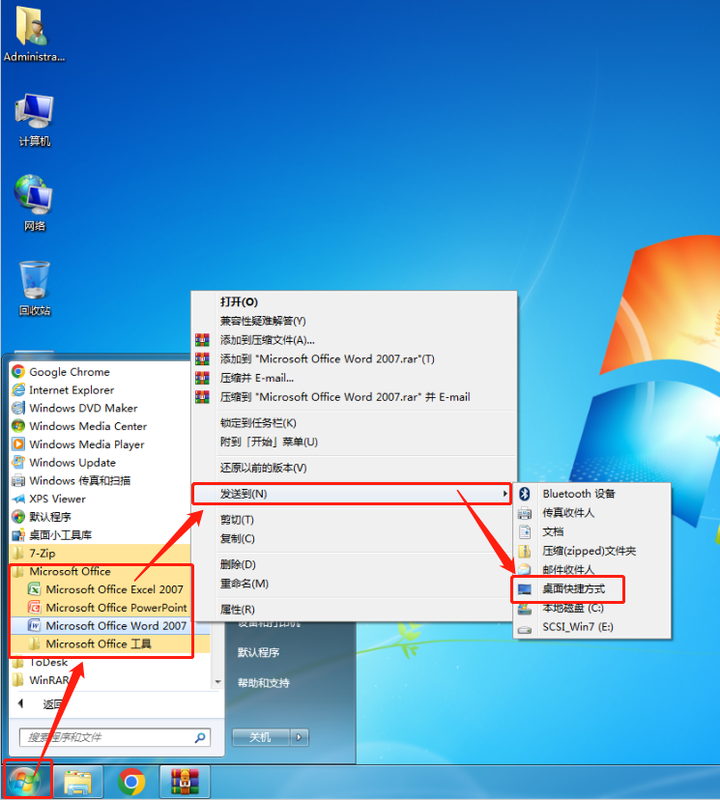
安装完成之后一般默认不会在桌面显示快捷方式,需要自己在【开始】菜单中找到并自行设置
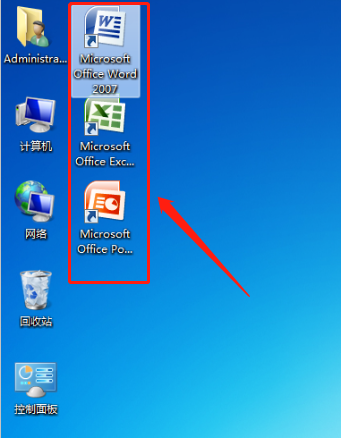
已创建桌面快捷方式,并任意打开一个主程序
打开程序之后,会出现一个联网验证密钥的弹窗,并且有提示剩余多少次的打开次数。
若是验证通过则可以长期使用,若验证不过则次数超限制后便无法打开。
建议直接跳至【图3.17】
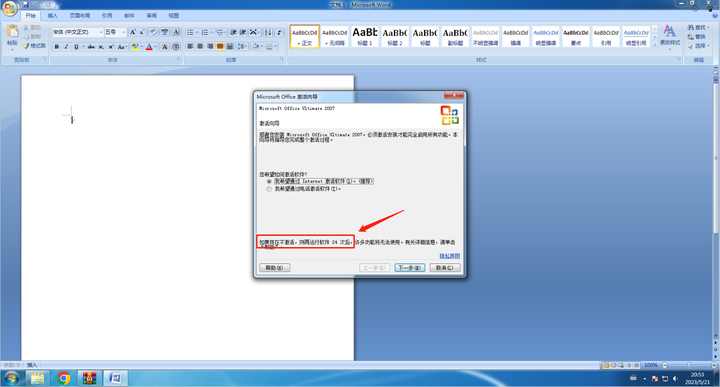
若是没有验证成功便是【图3.16】所示,那么就需要之后再激活了
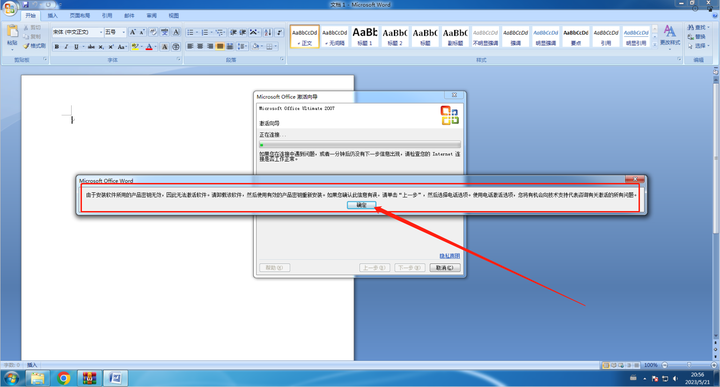
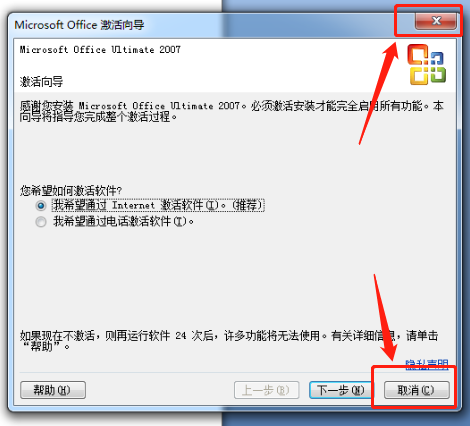
若是出现【激活向导】,可以直接关闭即可,之后再激活
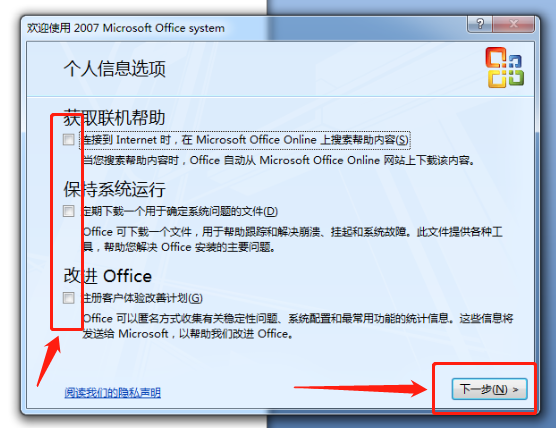
然后就是配置个人信息的选项
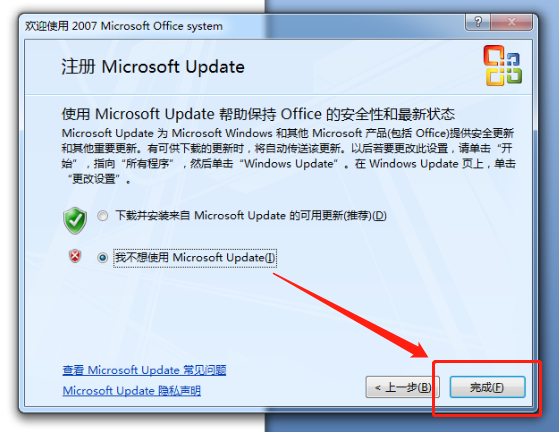
设置是否更新
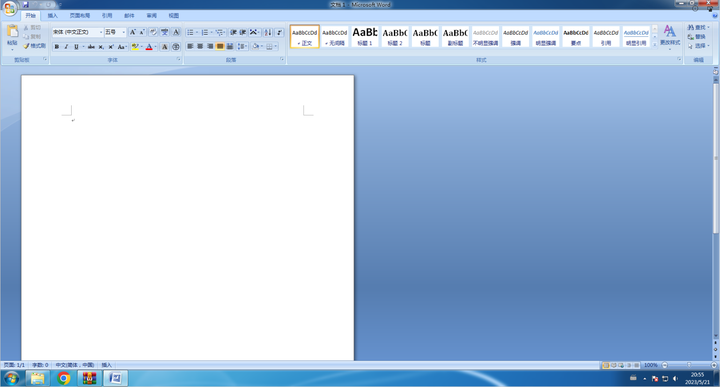
应用软件预览
学习安装到这就结束了
四、彻底卸载
1、常规卸载
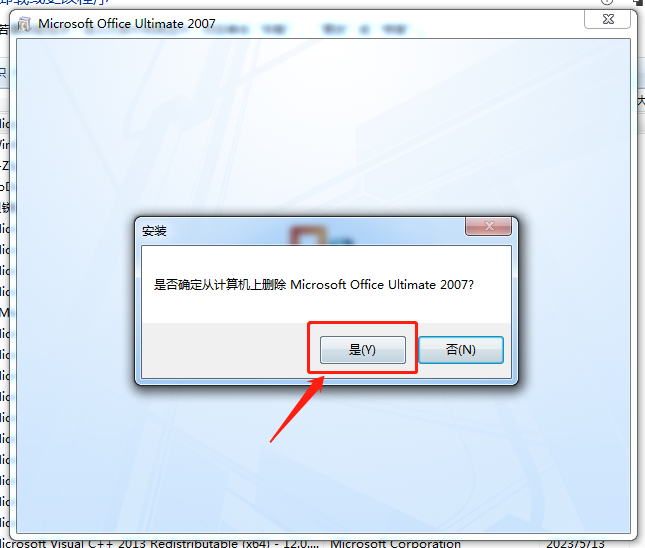
当我们学习结束想要卸载时,通常会找到【控制面板】进行【卸载】

找到对应的程序并确认删除
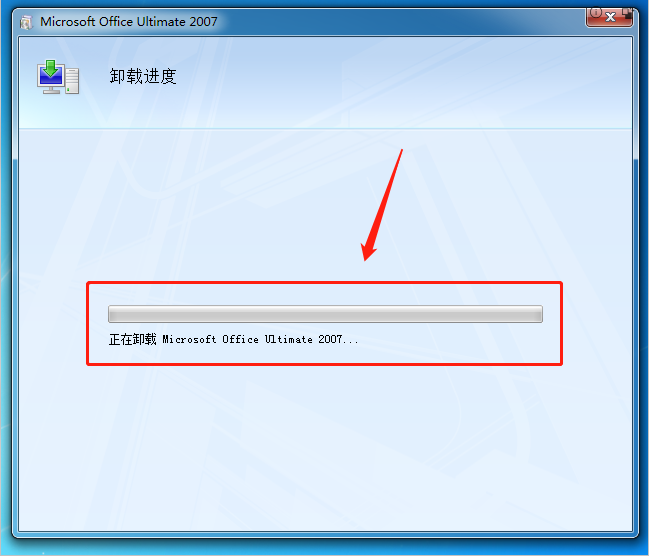
等待删除进度条完成即可
卸载完成会出现弹窗提示
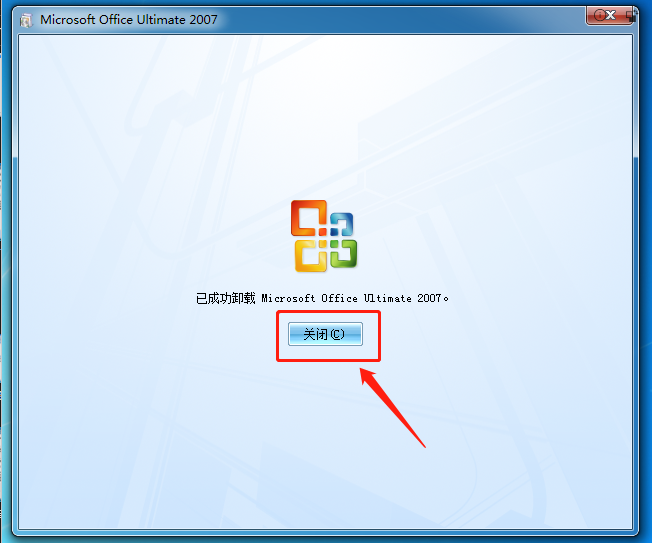
一般情况下,这样删除便结束了,但若要清空注册表及其它缓存等那就得彻底清除了,否则安装其它版本可能会报错
2、彻底清除残留
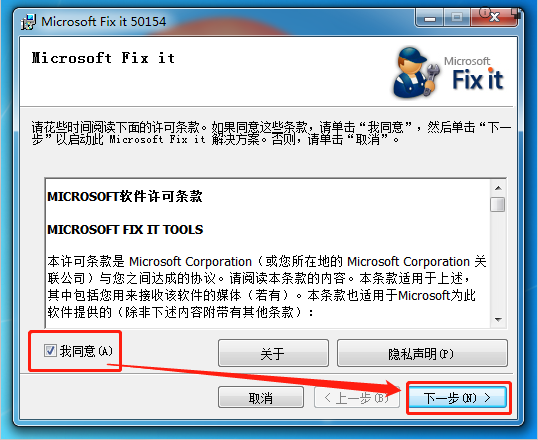
找到并下载卸载工具,文件很小,官方提供的

打开卸载工具,并同意许可条款
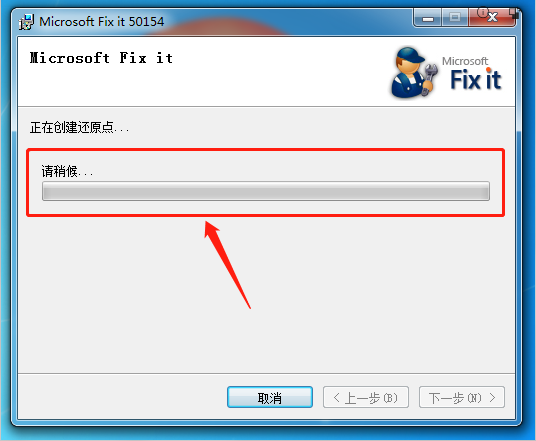
等待加载卸载程序
确认卸载office2007
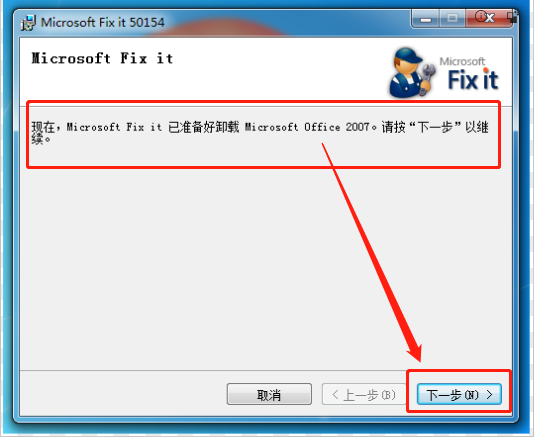
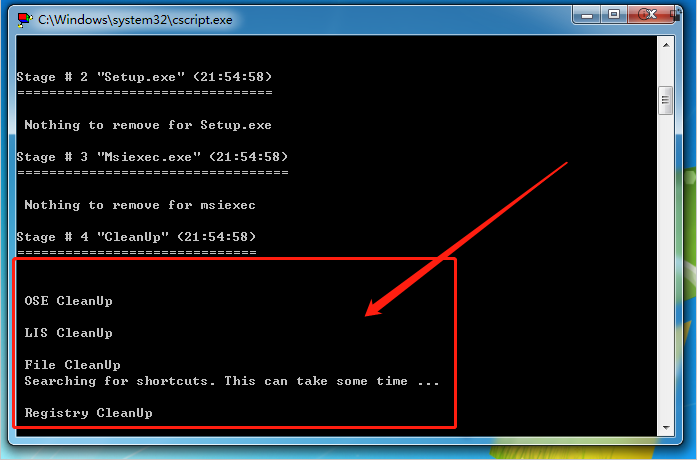
然后会出现一个黑框,会自动执行清理注册表缓存等操作,清理结束之后黑框会自动消失
残留彻底卸载清除了
--
END